Posts

Showing posts from July, 2018

HOW TO ACCESS MS SQL IN WINDOWS SERVER FROM A REMOTE SQL SERVER MANAGEMENT STUDIO
Image
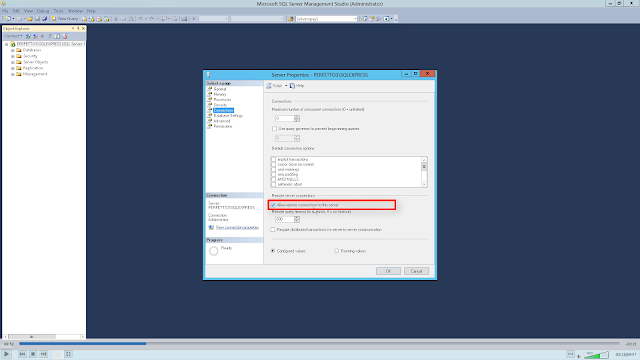
It is always troublesome to access MS SQL running in windows server from a local system. In this post I am explaining how to do it easily in less time. The main things to be done are: First we need to allow remote access to the sql server we are using.Then set a port to access the sql server through TCP/IP connection. Next step is to create an inbound rule in firewall to accept connection to that port. You can follow the steps given below to do this. 1. Connect with windows server 2. Open sql server management studio. And connect to the sql server instance. 3. Right click on the SQL server instance and select properties. 4. Select "Connections" from side menu. Make sure the "Allow remote connections to this server" Checkbox is selected. then press OK.  5.  Open "SQL server configuration manager" 6. In the side menu expand "SQL server network configuration" 7. Double click on the SQL instance name. 8. Ensure that "Shared memory&q

Add/Remove automatic password expiration of MS SQL user

Image
MS SQL has a automatic password expiration feature for database users. Which has both advantage and disadvantage.  Advantage is that it provides security. When we use the same password for same time, it makes it vulnerable to attacks. But when we implementing automatic password expiration feature we should change the database password in particular intervals. This will be difficult if the SQL server is less maintained or database user is accessed from multiple remote locations. So depending on our requirement we can turn ON or OFF this feature. The following step the following steps will help you to enable or disable automatic expiration of MS SQL user password. 1. open the SSMS and login using SQL server authentication 2. Expand the 'Security' folder in object explorer 3. Expand 'Logins' folder under 'Security' 4. All users will be listed in the 'Logins' folder. Now double click on the username we to change 5. On the popup window we can see &#